Celebrate Summer! 15% OFF when you mention our website!
Florida Weather is tough on brick pavers
Florida sunshine, heavy rain, humidity, vehicle traffic, and everyday wear can gradually take the life out of your brick pavers.
Here are a few signs your pavers need attention:
✔ Faded, Washed Out Color
- UV exposure and age can leave pavers looking dull and chalky
✔ Black, Green, or Dark Staining
- Algae, mildew, or mold can build up on paver surfaces or in joints
✔ White Haze or Chalky Residue
- Old sealer deterioration, mineral deposits, or efflorescence
✔ Missing or Eroded Joint Sand
- Deep or empty joints allow pavers to shift and allow insects and weeds to move in
✔ Loose or Shifting Pavers
- Pavers that rock or move underfoot need to be leveled and stabilized underneath
✔ Sunken or Uneven Pavers
- Develop from settling, erosion, poor drainage, or deterioration of the underlying paver base.
✔ Trip hazards or Lifting Pavers
- Raised pavers generally have tree roots pushing them up & need to be removed
✔ Oil, Rust, Irrigation, Leaf Stains
- Some stains like oil & rust become increasingly difficult to remove the longer they remain.
Four Common Paver Concerns

Faded Color
Organic Growth & Weeds
Joint Sand Imbalances
Restore the natural tones of your pavers hidden beneath years of weathering or low quality sealants
Joint Sand Imbalances
Organic Growth & Weeds
Joint Sand Imbalances
Replenish sand in the paver joints to prevent shifting and protect against chipping. Over-sanding, under-sanding, and no sand cause various problems over time
Organic Growth & Weeds
Organic Growth & Weeds
Organic Growth & Weeds
Remove weeds, algae, mildew, grime, efflorescence, and calcium buildup from your pavers.
No Protection
Organic Growth & Weeds
Organic Growth & Weeds
Apply a high-quality sealant to restore color & protect your investment for years to come
Our brick Paver Restoration Process: A complete Approach
Professional Deep Cleaning
Preparation & Joint Restoration
Preparation & Joint Restoration

A quality restoration starts with a properly prepared surface. Our team removes all furniture, potted plants, and loose debris from the pavers before pre-treating oil, grease, and rust stains with our bio-friendly degreasers and acids. We are able to "strip" surfaces of efflorescence (white haze) at this stage with our bio strippers and "turbo" cleaning equipment. This is CRUCIAL before applying new sealant as it will lock in the white haze or any other stain. Our high-pressure cleaning equipment allows us to deeply penetrate the pores and joints until every aspect is thoroughly prepared for sanding and sealing.
Preparation & Joint Restoration
Preparation & Joint Restoration
Preparation & Joint Restoration
Once properly cleaned, the paver joints must dry 24-48 hours in rain-free weather before our crews install dry joint sand between them. We use a high-quality oil-based sealant that requires dry sand and minimal moisture trapped underneath. We learned over the past 25 years that taking the extra time for oil-based sealers is well worth the wait! Low-quality, water-based sealers almost always produce a white haze on the surface or deteriorate rapidly in Florida weather. Next, we remove all excess sand from the paver surfaces until the sand sits 1/8" below the top edge of pavers.
High-Quality Paver Sealing
The Finished Transformation
The Finished Transformation
Our go-to oil-based sealer produces a wet look to your pavers and locks in that gloss. There are various sheens available if you desire a more natural look with the same protection! Now that the pavers are clean, dry, free from stains, and sanded 1/8" below the top edge, it is time to seal! Our crews will ensure the weather forecast is dry for the next 24 hours and remove any loose surface dust or sand. We utilize a low-pressure electronic sprayer that produces a perfectly even spray across the surface. Hard-to-spray sections and pool copings must be applied by rolling sealant onto the surface and joints to prevent unwanted overspray.
The Finished Transformation
The Finished Transformation
The Finished Transformation
Pavers are now sealed! If a glossier appearance is desired, we will apply a thin second coat 2-6 hours after the initial coat. Pavers left unsealed or neglected for many years usually require an extra coat for a polished look. Prevent any foot traffic on the sealed surface for 4-6 hours after or dry to the touch. We will place all heavy furniture & potted plants back onto the cured surface 24-48 hours later. Prevent any foot traffic on the sealed surface for 4-6 hours. Vehicular traffic for 48-72 hours to prevent permanent tire impressions or scuffs on the sealed surface.
your pavers are an investment. Treat them like one.
A paver restoration can dramatically change the appearance of a property—but only when the preparation and application are done correctly. Sarasota Home Care Services brings more than 25 years of local service experience to every project.
We believe in preparing properly, communicating with our customers, and delivering results we're proud to put our name behind.
✓ 25+ Years Serving Sarasota
✓ Family Owned & Operated
✓ Quality Materials
✓ Honest Pricing
✓ Satisfaction Guaranteed
Take a Look at Our Recent projects!





Building concrete base w/ rebar for mailbox
Concrete base for paver mailbox
Pete is laying brick pavers around concrete mailbox base
Completed brick paver stand for new mailbox
Applying thinset to existing stucco
Smoothing out thinset to prep for tile install
Installing tile on shower at Prestancia's Mara Villa Pool
Completed tile install at Prestancia's pool. Ready for trim
Completed tile & trim installation around outdoor shower. Ready for paint
Newly installed mosaic tile around pool fountain at Prestancia's Mara Villa Pool. Ready for trim install
New pool tile installed and grouted, ready for trim installation
Damp, mushy wall showing signs of moisture & rot
Inside of damp wall, signs of deep wood rot
Install new wood backing for metal net & texturizing
Restored wall & ready to paint
Refreshed front walkway with new rock beds, crotons, solar lights and hanging pots
Before picture - neglected soil and root exposure along front walkway
Refreshed front area with new border, rock beds, dipladenia plants, and solar lights
Before picture - Neglected soil, no plant life, no border
Refreshed plant beds with brick border, solar lights, hibiscus & croton plants
Before picture - root exposure, bare soil, no border
Refreshed tree bed with brick border, wind chimes, azalea plants, solar lights
Before picture - neglected soil, root exposure, dying plants.
Refreshed side area with shrub transplant, new brick border, jasmine trellises, mulch and hanging pot
Before picture - unhealthy shrubs, exposed roots, poor soil with no border
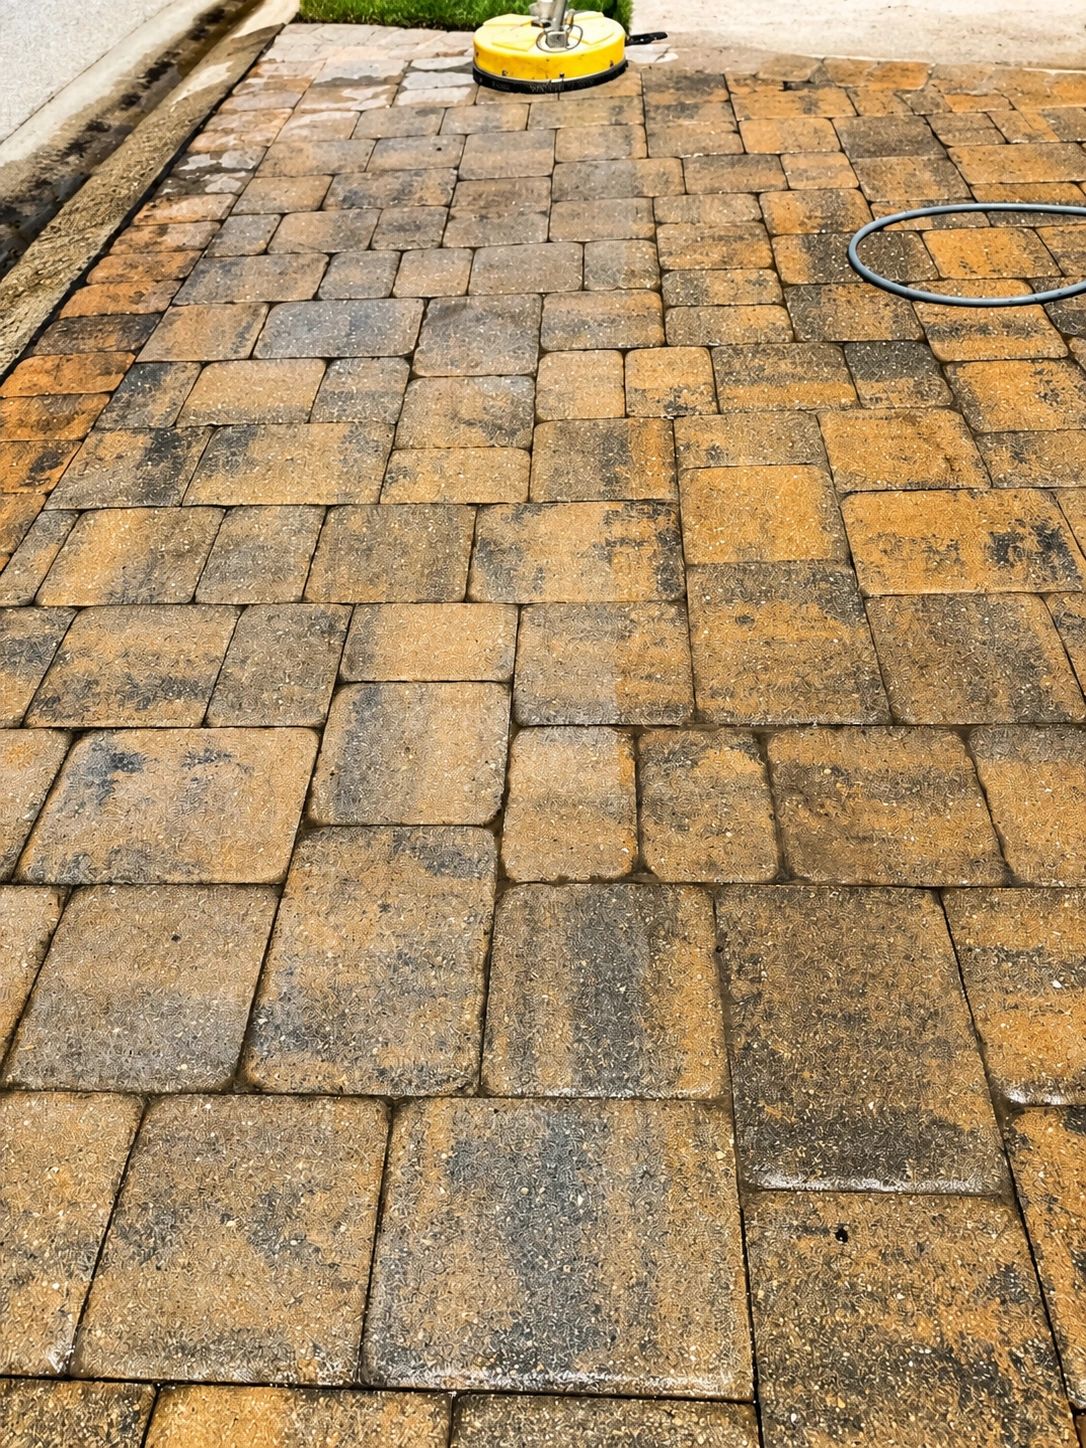
Pressure cleaned paver pathway
Before gloss concrete sealer
After gloss sealer on stamped concrete
After gloss sealer on stamped concrete
Freshly sealed stamp concrete driveway
Water drainage and landscape re-design
Side angle of landscape re-design
Raking rock bed with new agave plants
New rock bed with agave plants
Building a bedroom closet
Painting newly built closet
Installing trim on new closet
Front door repair
Fascia repair & paint
Pressure wash pool enclosure
Dirt & grime from pressure wash
Pressure washing paver pool deck
After cleaning paver pathway
Surface cleaning driveway pavers
Siding repair & paint
Painting trim on house exterior
Painting trim on house exterior
Why homeowners choose us
25 Years in Florida
Satisfaction Guaranteed
Family Owned & Operated
For more than 25 years, we've proudly served Sarasota, Lakewood Ranch, Bradenton, Siesta Key, and surrounding communities. Our reputation has been built on honest work, reliable scheduling, and long-lasting relationships with homeowners who continue to trust us year after year.
Family Owned & Operated
Satisfaction Guaranteed
Family Owned & Operated
Phil Van Brandt started Sarasota Home Care in 2000. His two sons, David and Chris, have been a part of the business ever since! As a family-owned and operated business, we treat every home as if it were our own—because building long-term relationships is just as important to us as delivering exceptional results.
Satisfaction Guaranteed
Satisfaction Guaranteed
Satisfaction Guaranteed
At Sarasota Home Care Services, from your first phone call to the final walkthrough your satisfaction is more than a promise—it's the foundation of everything we do.
We aren't satisfied until you're completely satisfied. That's our commitment to every customer, every project, every time.